
A common question we receive with Site Provisioning and Governance Assistant is whether or not a custom template can be applied to new site collections. Fortunately, we do provide the capability, but the method to accomplishing this can be somewhat confusing if you aren't sure where to start. In this article, I will walk you through the process of applying those custom templates, and ensuring a consistent look and feel is prevalent throughout your farm as defined within your organizations governance plan.
In this article, we will be creating a simple request profile using activities that create a site collection, installs a user solution, activates a feature and applies the site template. I will also provide instructions on how to obtain the respective site template id using Powershell, along with all the necessary inputs for each activity. There will be an accompanying video to this, which will cover the steps here, plus show some additional tricks such as using conditions with your activities and leveraging the cascading list lookup to allow users to choose their template if you choose, so feel free to check that out.
Create Template
1. Once you have created your custom template, save the .wsp file to your harddrive and upload it to a centralized location on your Sharepoint farm. For this example, I have created a document library called "Custom Templates" and uploaded it here. (We will be referencing this URL later for the Install Feature activity.)
Install and Activate Solution
1. On your provisioning site, go to Site Settings, and click Solutions under Web Designer Galleries.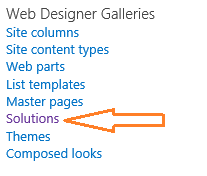
2. On the Ribbon, click the Upload Solution button and browse to where you saved your .wsp template file and click OK.
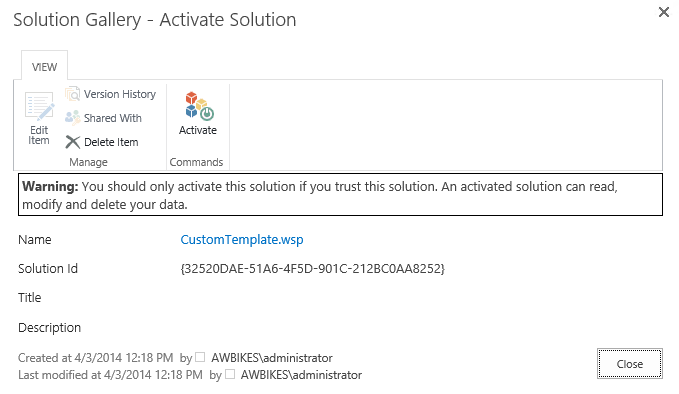
3. Highlight the template name, and you should see Activate light up on the Ribbon. Click Activate (alternatively, click the drop-down arrow next to the file name and activate this way). You will get a summary of the Name, Solution ID, Title and Description. Not that the Solution ID here is irrelevant for SPGA purposes. Click Close

Obtain Solution ID
1. Open Sharepoint Management Shell
2. Input the following series of cmdlets
$site = Get-SPSite http://sitewheresolutionwasuploaded
$loc = [System.Int64]::Parse(1033)
$site.GetWebTemplates($loc) | Select-Object -ExpandProperty Name
3. You will see a list of site templates. At the bottom you should see yours with the format {GUID}#TemplateName. Copy this as you will need ti for later.
Create and Modify Request Profile
1. Create a new request profile, choosing the Site Collection template and go into the Execution Settings
2. Find and click the activity Create Site Collection with Top-Level Site.
3. Under Site Definition, clear out the value completely. (even if the site definition is set to Sharepoint.SiteDefinition.Blank) Click Ok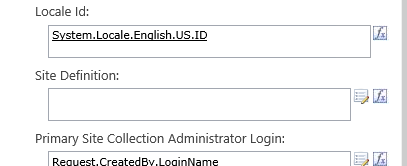
4. Click Add Activity, and change the type to Install User Solution
5. Next to Site Collection, click the function button.
6. Change the Property Group to Execution Properties, and the Property to Properties.SiteCollection. Click OK
7. Under Literal Path, paste in the URL to the file where you previously uploaded the .wsp (in my example I used a "custom template" document library).
8. For the Solution Id, specify a solution id variable of your choosing. I chose CustomTemplate
9. Click Save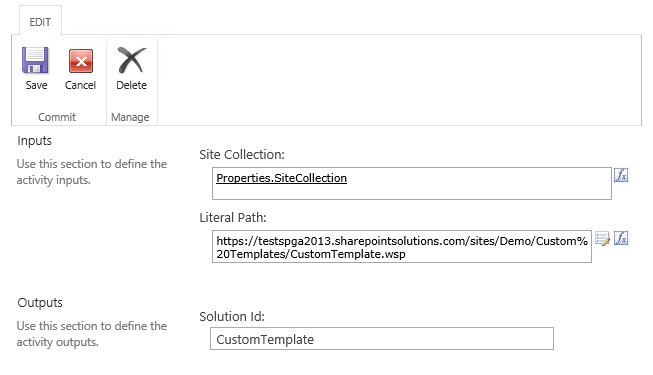
10. Click Add Activity, and change the type to Activate Solution Site Collection Features
11. Next to Site Collection, click the function button.
12. Change the Property Group to Execution Properties and the Property to Properties.SiteCollection. Click
13. Next to the Solution Id box, click the function button
14. Change the Property Group to Execution Properties and the Property to Properties.[SolutionID]. Click OK
15. Click Save
16. Click Add Activity and change the type to Apply Site Template
17. Next to Site, click the function button
18. Change the Property Group to Execution Properties and the Property to Properties.Site. Click OK
19. In the Template Name box, paste in the value of the template ID we retrieved Step #3 under the Obtain Solution ID section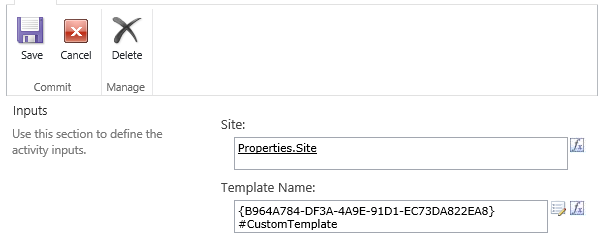
At the conclusion of these steps, your base Activity Plan should look something like this: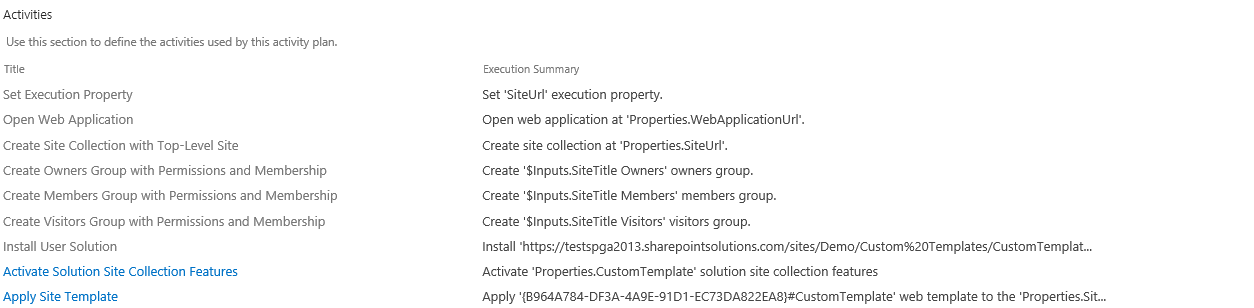
If you have any questions about this process, please leave a comment below
0 Comments